Canvas Editor
The canvas is the main surface in Studio. It’s where you pick items, arrange them, name the outfit, and save.
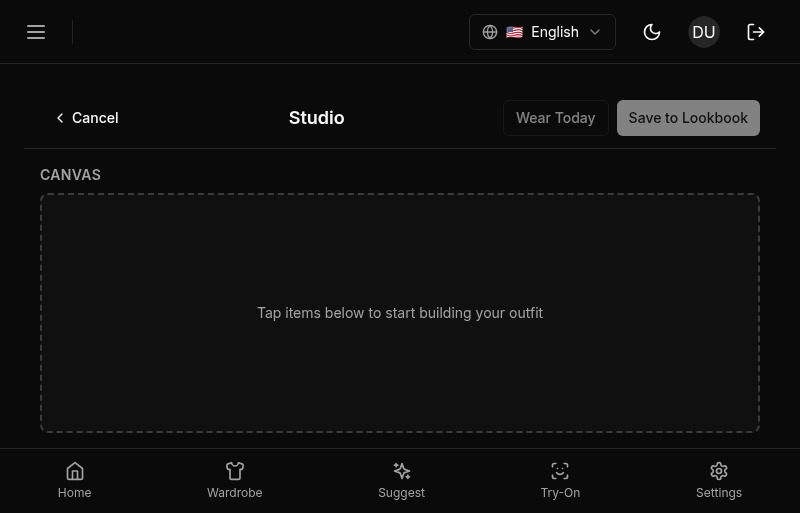
Layout
The editor is split into two panels.
- Canvas (left): A grid of slots for each canonical role (top, bottom, outerwear, shoes, accessory). Slots are fixed positions so every outfit has the same shape regardless of how you built it. Empty slots show a subtle placeholder; filled slots show the item thumbnail and its role label.
- Details (right): The form for the outfit’s name, occasion, notes, and save actions.
The role order is canonical. You can’t reorder slots, and the canvas renders items in a deterministic sequence so the preview, the saved outfit, and any lineage references all show the same layout.
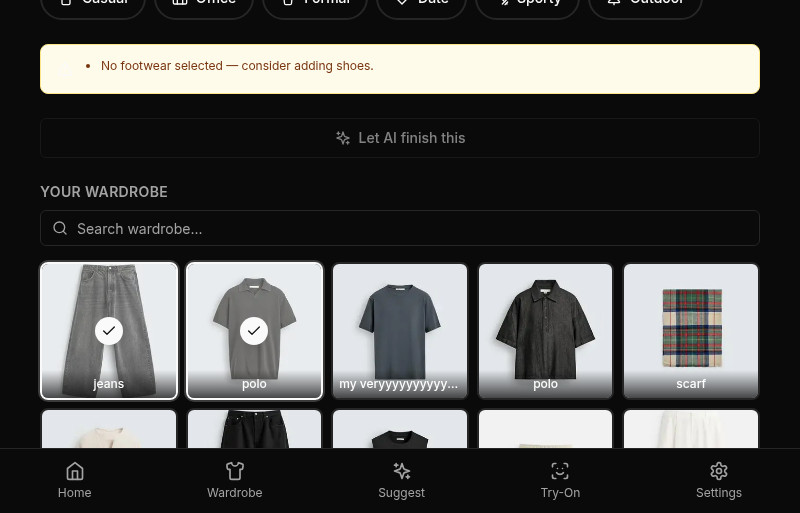
Adding Items
Click any empty slot to open the item picker. The picker is scoped to your active wardrobe (archived items and anything flagged as needs-wash are filtered out).
- Search by name, subtype, tags, or color. Search hits all four fields at once, so typing “navy” or “wool” or “summer” all work.
- Filter by type, occasion, or formality.
- Pick an item to drop it into the slot you came from. The picker closes automatically.
To swap an item, click the filled slot again. The picker reopens with the current selection highlighted so you can pick a replacement. To remove an item without replacing it, click the slot and use the “Remove” action in the picker header.
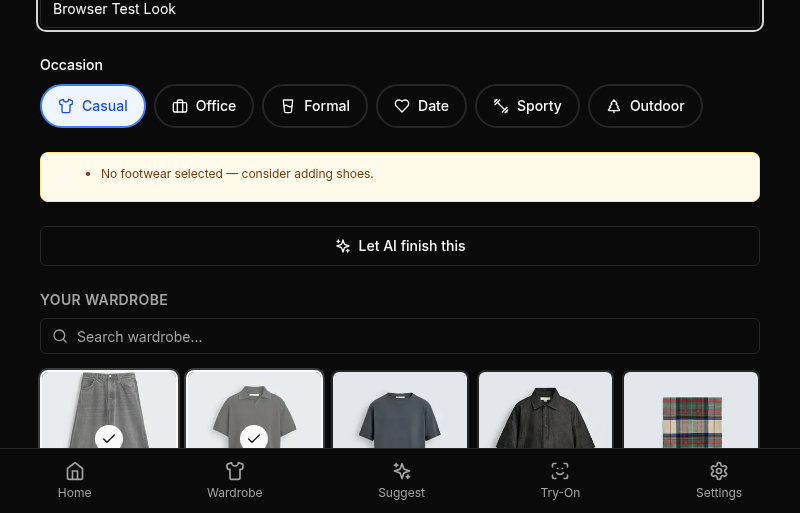
Required Fields
Before you can save, you need:
- A name. Outfits in Studio get user-given names so they show up meaningfully in My Looks. “Thursday work” or “Wedding guest” work better than AI-generated titles.
- At least one item. A canvas with zero items can’t be saved. In practice you’ll want at least a top, bottom, and shoes for the outfit to feel complete.
- An occasion. Pick from the same six chips the suggestion flow uses: Casual, Office, Formal, Date, Sporty, Outdoor. The occasion powers filtering later, and it feeds into Style Learning when you wear the outfit.
Required fields are marked visibly in the form so you’re not guessing what’s missing. The Save button stays disabled until all three are set.
Saving
Click Save to commit the outfit. On success, the canvas collapses into the saved outfit view with the usual action set: mark as worn, clone, edit, delete.
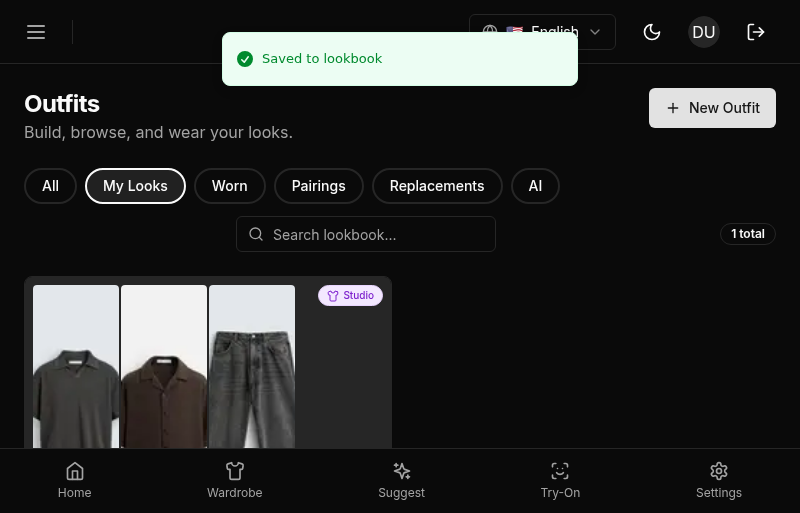
Saved outfits are tagged internally as user-created. They appear in the Outfits tab under My Looks and under All, but not under Suggested. They can be picked up by wore-instead the same way AI suggestions can.
Drafts and Unsaved Changes
Studio keeps a draft in memory while you’re editing. If you navigate away with unsaved changes, you’ll see a confirmation dialog before the navigation goes through. This applies to sidebar navigation, the back button, and browser back. The draft is local to the current session; if you close the tab you lose it.
For longer work, save early with a placeholder name and edit from there. A saved outfit in Studio is a full object in the database, so nothing is lost if the tab closes or the browser crashes.
Mobile: The canvas on mobile stacks role slots vertically. The picker opens as a full-screen sheet with search at the top. Item cards are larger for touch targets. Saving works identically.